Timelines and Animation
Creating the IK Animation
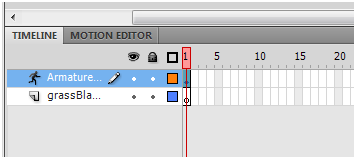
With the bones set, it is time to create the IK animation. In the timeline, we will see a layer called Armature created.
 On this layer, right click on Frame 120, and select the Insert Pose menu item. Once we have done that, a keyframe will be inserted at Frame 120 with a green background color filling up all frames between 1 and 120 in the Armature Layer:
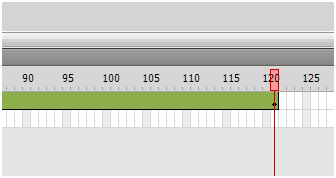
On this layer, right click on Frame 120, and select the Insert Pose menu item. Once we have done that, a keyframe will be inserted at Frame 120 with a green background color filling up all frames between 1 and 120 in the Armature Layer:
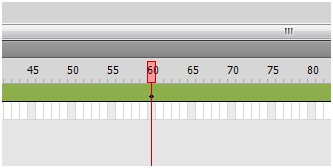
Let us insert another Pose - this time at around Frame 60. Just like before, right click on frame 60 in the Armature layer, and select the Insert Pose menu item. After a few seconds, the Pose will be inserted there as well:
With the playhead on Frame 60, it is time to move some of the joints around. Click on the Selection Tool to get your mouse cursor back and to go out of Bones mode. Select your shape again if it has lost focus. Now, click on any of the joint endings and move them around with your mouse cursor: 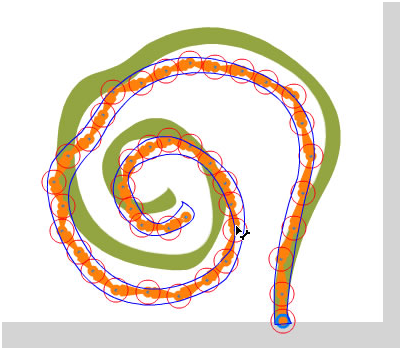 Getting the right pose want is a bit of an art, and with a shape containing as many joints as this, Once we have gotten the shape in just the right pose that want test the movie.
....Previous
Getting the right pose want is a bit of an art, and with a shape containing as many joints as this, Once we have gotten the shape in just the right pose that want test the movie.....Previous